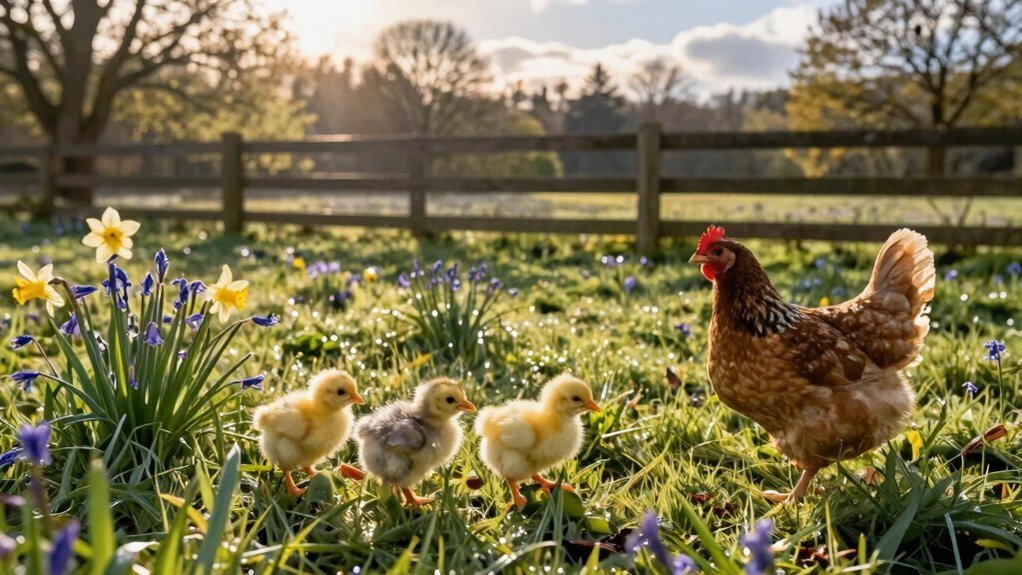
You’re probably wondering which season gives you the healthiest, fastest‑growing flock. Here’s the thing: start your chicks in early spring or late‑summer tofall. Spring’s daylight and rising ambient temperature let you drop the brooder heat by about 5 °F each week, so you save energy and keep chicks comfortable; late‑summer gives a warm jump‑start, and by fall the nights stay above 50 °F, letting you move them outdoors when they’re feathered. Pick a breed that matches your climate—Leghorns for spring, heritage birds for fall—and you’ll hit egg production right as demand peaks. If you keep reading, you’ll see how to match breed growth, prep your coop, and avoid common timing mistakes.
When to Buy Chicks: Why Seasonal Timing Matters
Takeaway: Buy in early spring, match hatch timing to daylight growth, and you’ll enjoy a healthier, earlier‑laying flock. Ready to plan your pickup date? Since young birds require 90 to 95 degrees during their first week, starting in spring allows natural ambient temperatures to rise gradually as you lower the brooder heat each week. Ensure the lamp is positioned 18 to 24 inches above the floor so chicks can self-regulate their warmth and avoid overheating or chilling. Remember that chickens are social animals, so providing companion chicks is essential for their well-being alongside proper brooder conditions.
How Spring’s Warmth Makes Brooding a Breeze
You’re probably wondering why spring feels so forgiving for new chicks. The air’s natural warmth cuts the heat you must add, so you can keep the brooder at a comfortable 95 °F the first week and drop about 5 °F each week without over‑working your lamp. That means temperature gradient management stays simple—chicks move toward or away from the heat source as they grow, and you won’t need massive adjustments.
All right, spring also eases brooder humidity control. Outdoor moisture rises, but cooler nights keep ammonia low, so you can check bedding daily and vent a crack when needed. Obviously, you still need a reliable heat source, but the milder swings let you focus on steady humidity rather than battling frost. Since newly hatched chicks cannot regulate their body heat, monitoring their behavior ensures you maintain proper warmth without risking overheating or fire hazards associated with traditional lamps. This supplemental heat is typically required until chicks are fully feathered around six weeks of age, though warmer indoor settings may allow for earlier weaning. During this rapid growth phase from week 1 to 4, providing high-protein starter feed is essential to support their developing feathers and overall health.
Takeaway: Spring’s gentle climate lets you fine‑tune temperature gradients and humidity without extreme stress. Next, consider how to move chicks to the coop as days warm further.
Why Late‑Summer and Fall Give You Early Egg Production
Why does starting chicks in late summer or fall get you eggs earlier? You’re probably wondering why timing matters, and the answer is simple: warmer late‑summer days jump‑start growth, while cooler fall air cuts heat stress, so pullets hit lay age as spring daylight lengthens. This egg timing aligns with peak local demand, letting you sell fresh eggs before the holiday rush.
Now, stress reduction plays a big role. When temperatures stay comfortable, chicks don’t waste energy on cooling, so they convert feed efficiently and mature faster. Outdoor feathering happens smoothly, and water‑management issues stay low, keeping the flock healthy. By avoiding the extreme heat of mid-summer, you eliminate the need for emergency measures like adding ice cubes to water sources, ensuring your young birds maintain steady hydration without thermal shock. As your flock matures into winter, remember that hens require 14 to 16 hours of daily light to maintain maximum egg production when natural daylight drops below 12 hours. Since egg laying is primarily regulated by a light-sensitive gland in the chicken’s head, shorter winter days often fail to stimulate this system without artificial supplementation.
All right, the takeaway: start in late summer or fall, enjoy reduced stress, and you’ll reap early, steady egg production that matches market needs. Ready to plan your hatch?
When to Buy Chicks in Winter: Temperature‑Control Tips
Winter chick purchases can feel like a high‑stakes gamble, especially when you’re worried about chill and mortality. You’re right to ask how to keep those tiny birds warm. Here’s the thing: start with a brooder set to 95 °F for the first seven days, then drop five degrees each week until they’re fully feathered. Use a reliable thermometer, not the room thermostat, and give them a cooler corner to escape excess heat. To ensure maximum safety and prevent fire hazards, consider using radiant heat plates instead of traditional heat lamps. When using red heat lamps, it is crucial to position them at least 18 to 24 inches above the chicks to prevent overheating and fires. Additionally, you should install protective cages around bulbs to prevent contact if the lamp falls and ignites bedding.
How do you handle hatchery shipping?
Pick up the order the same day if possible; avoid mailboxes or trucks that sit in the cold. A local feed‑store chick day cuts transit time, reducing chill risk. Pack extra birds if the hatchery offers larger shipments—more bodies share warmth.
What about winter acclimatization?
Keep the brooder draft‑free, dry, and spacious as they grow. Heat lamps work, but mount them securely to prevent fires. Only move them outdoors once they’re feathered and nighttime temps stay above 50 °F for your breed.
Takeaway: Control temperature, minimize shipping delays, and wait for proper feathering before coop placement. Ready to set up your brooder?
Match Breed Growth to Your Chosen Season
When should you start a flock for the season you want to sell eggs? You’re probably wondering which breed fits the calendar so your birds hit lay‑age at the right time.
Which breed matches a spring start?
Fast‑maturing layers, like Leghorns, reach five‑month maturity by late summer, giving you early‑season eggs before winter molting. Their quick feathering aids seasonal acclimatization, and they handle the warming climate with ease. Notably, these birds are famous for producing jumbo white eggs with an annual yield of 250 to 280 eggs.
What about a summer hatch?
Choose heat‑tolerant, Mediterranean‑type breeds. Their lighter bodies and rapid feather growth keep them cool, ensuring climatic adaptability and steady growth despite hot days.
Which breed thrives from a fall start?
Hardy heritage birds, such as Rhode Island Reds, feather fully before winter, boosting seasonal acclimatization and cold‑hardiness. Their larger size handles chilly nights, letting you sell spring eggs when demand spikes. Since these active birds require clean, ventilated shelter to maintain health and productivity, ensure your coop is ready before temperatures drop. For those seeking gentle giants that maintain steady laying even during winter, the Jersey Giant is an excellent choice for families.
Takeaway: Align breed growth rates with your chosen season’s temperature swing. Pick a breed whose hardiness mirrors local climate for smooth development and timely egg production.
Next step: Decide which season you’ll target and shortlist breeds that fit that climate.
Most people purchase chicks during spring, so spring demand often leads to stock selling out quickly.
Prepare Coop and Brooder Before the First Chick Arrives
You’re probably wondering how to get the coop ready before those tiny feet start scratching. Here’s the thing: start with a cleaning schedule that removes all bedding, droppings, dust, and old feed. Wash feeders, waterers, and removable parts with a safe disinfectant, then inspect walls, roof, floor, doors, vents, and nest boxes for cracks or leaks. Seal gaps for pest exclusion and drafts, and verify ventilation works without blowing directly on the birds. Avoid using cedar shavings entirely because toxic aromatic compounds in the wood can damage your flock’s respiratory systems and livers.
Now, lay fresh pine shavings or straw, keeping it dry and adding layers regularly for insulation, but ensure you select dust-extracted shavings to reduce respiratory risks from fine particles. Install feeders and waterers, making sure they’re predator‑proof and positioned to avoid crowding. Ensure your setup includes enrichment toys to promote a healthy and productive flock environment.
All right, set up the brooder with the right temperature, safe heat source, and clean bedding. Check for slippery spots or sharp edges, then lock doors to keep predators out. Takeaway: a spotless, well‑ventilated coop with pest exclusion and a ready brooder guarantees a smooth first day for your chicks. What’s your next move—checking the temperature gauge? Chickens prefer cooler temperatures and have no sweat glands.
Seasonal Cost and Availability When Buying Chicks
When does the best time to buy chicks actually depend on cost and supply? You’re probably wondering why prices jump and shelves empty at different times. Here’s the thing: spring, especially late February through May, floods feed stores with every breed, but the surge in demand means popular lines sell out fast. If you wait until March or April, you’ll face tighter inventory and higher prices, though you’ll enjoy the most favorable weather for brooder safety and chick socialization.
All right, fall offers a quieter market. Prices dip, and you can snag younger pullets that will start laying in spring, boosting egg sales. Warmer regions even stretch fall availability nearly year‑round, but you’ll still need supplemental heat for brooder safety.
Obviously, summer can clear inventory with lower prices, yet breed choices shrink and you must manage temperature swings. Your local climate dictates when heat lamps become essential and how quickly chicks feather out.
Takeaway: Align your purchase with the season that balances cost, breed variety, and your brooder’s temperature needs. Next, think about how many chicks you’ll raise and which breeds fit your egg‑production goals. Keep in mind that retailers like Tractor Supply often require purchasing live chicks in minimum quantities of 10, which can influence your total startup cost regardless of the season. Additionally, ordering online from sources like Murray McMurray Hatchery can provide access to rare breeds and free shipping on large orders, offering an alternative when local store inventory is low.
Avoid the Top 5 Timing Mistakes New Keepers Make
If you’re wondering why first new keepers stumble over timing, you’ve hit the right spot.
What weather should I watch?
Don’t ignore local temperature trends. Chicks need 95 °F in week 1, dropping 5 °F weekly. Move them outdoors only when night lows stay near 50 °F and days hit 70 °F. Wind, rain, and damp bedding can chill them even if the thermometer reads okay.
Is my coop ready?
You must have a predator‑proof, dry, ventilated coop before the first chick arrives. An unfinished shelter leads to stress, piling, and poor growth.
When should I order?
Match breed hatch windows to your schedule. Some breeds appear only during spring migration patterns, and holidays can delay shipments.
Takeaway: Align weather, coop readiness, and breed timing to avoid costly mistakes. Next, ask yourself which season fits your calendar best.
Checklist: Pick the Best Season for Your First Flock
Spring or fall? You’re probably wondering which season lets you dodge winter brooding and cut shipping risks. Here’s the thing: spring gives you warm days, so you’ll need less supplemental heat, while fall can line up with holiday egg demand.
When should your brooder be ready?
Make sure the brooder, water, feed, and dry bedding sit waiting before the chicks arrive. A reliable heat source must stay on for the first weeks, and the coop should already have ventilation and predator protection.
How does temperature affect timing?
Aim for daytime highs above 70°F and nighttime lows that won’t dip below 55°F before you move the pullets outdoors. This reduces frostbite risk and lets them shift smoothly.
What about availability?
Spring stores stock the widest breed selection; fall often requires direct hatchery orders, increasing shipping risks. Plan ahead for hatchery schedules and local pickup windows.
Takeaway: Choose the season that matches your climate, coop readiness, and egg‑production goals, then lock down your brooder setup before the first chick lands. Next step: list your equipment and set a purchase date that fits your chosen season.