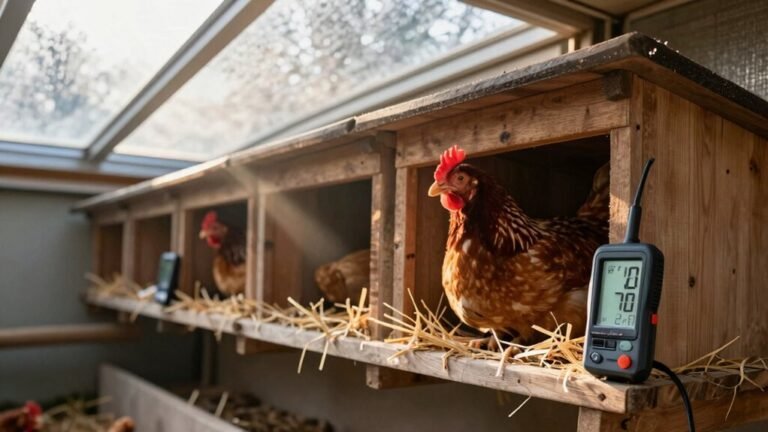
You’ll need exactly 60 square feet of indoor space (4 sq. ft. per bird) and 150 square feet of outdoor run area (10 sq. ft. per bird) for 15 hens. Configure your coop in an 8’x8′ or 6’x10′ footprint with three zones: nesting, roosting, and ground-level activity. Install 4 nesting boxes (12″x12″x12″) mounted 18-24″ above floor level, plus 15 linear feet of 2″ diameter roosting bars. These core measurements form the foundation for a properly designed DIY coop project.
Essential Space Requirements for Your Flock
When planning a coop for 15 hens, you’ll need to allocate at least 60 square feet of indoor space (4 sq. ft per bird) and 150 square feet of outdoor run area (10 sq. ft per bird) to meet basic requirements. Consider adjusting these space allocations based on your flock’s specific characteristics. Wild jungle fowl space needs are significantly higher at about 2 acres per bird in their natural habitat. If you’re raising larger breeds like Brahmas, increase indoor space to 120 square feet and run space to 255 square feet to accommodate their size. Easy access points are crucial for collecting eggs and maintaining the coop. DIY construction options can help keep costs under $300 while meeting all space requirements.
Your roosts should span at least 82.5 inches (5.5 inches per bird), and you’ll need 3-4 nesting boxes for ideal laying conditions. If your chickens won’t have regular outdoor access, increase indoor chicken densities by 50% to 90 square feet. Remember that providing more space than the minimum requirements will markedly improve flock health and reduce aggressive behaviors.
Designing Your Coop Layout and Floor Plan
Three essential zones form the foundation of an effective chicken coop layout: the nesting area, roosting space, and ground-level activity section. For your 15 hens, you’ll need a minimum of 60 square feet, which you can configure in an 8’x8′ or 6’x10′ footprint to maximize standard building materials. Adding a cabinet-style door makes cleaning and maintenance significantly more convenient. Similar to the Victorian-style design, this layout provides ample space for nesting and movement while maintaining aesthetic appeal.
Implement space optimization through hierarchy placement: position roosting bars at varying heights (3-4 feet off the ground), install nesting boxes at a mid-level height (2 feet), and designate the ground level for feeding and scratching. Mount nesting boxes with external access for easy egg collection, and make certain they’re separated from roosting areas to maintain cleanliness. Include a dedicated storage section for feed and supplies, and incorporate raised platforms to create additional usable space beneath. Installing proper ventilation systems helps prevent respiratory infections and maintains optimal air quality for your flock.
Proper Ventilation Strategies for Optimal Health
Proper ventilation forms the cornerstone of a healthy chicken coop design, requiring 1 square foot of vent space per 10 square feet of floor area. You’ll need to implement both lateral and vertical ventilation types to guarantee effective air exchange. Install roof-wall gap vents along your slanted roof and position pop holes near floor level for ideal airflow management. Toxic ammonia buildup can severely damage chickens’ respiratory health without proper ventilation.
Place additional vents high above roosting areas to prevent direct drafts while allowing warm, stale air to escape. Cover all openings with predator-proof wire mesh. For year-round comfort, install adjustable vents on opposite walls to control airflow based on seasonal needs. During winter, maintain ventilation through high vents while minimizing drafts with strategic positioning and weather-resistant flaps over pop holes. With proper space requirements of 3-5 square feet per bird indoors, adequate ventilation becomes even more crucial for maintaining air quality. For optimal health, ensure each hen has access to one nesting box to maintain comfort and reduce stress in your flock.
Weather-Proofing and Insulation Methods
To shield your flock from harsh elements, extensive weather-proofing requires a multi-layered approach of wind blocks, moisture barriers, and strategic insulation.
Install opaque construction plastic or specialized wind barriers on your coop’s north and west sides to reduce cold exposure while maintaining ventilation. For proper winter survival, your coop needs proper airflow to prevent respiratory issues in your birds. Seal all gaps and nail holes with latex caulk, and apply waterproof epoxy mixed with sand for moisture prevention and improved traction. Add foam board insulation between roof joists to prevent condensation drip, and cover with plywood for cleanability.
For floor insulation, layer 4-6 inches of straw or wood shavings over rubber mats. Implement the deep litter method for additional thermal protection. If needed, mount ceramic heat lamps securely for supplemental heating, but maintain proper ventilation strategies to control moisture levels.
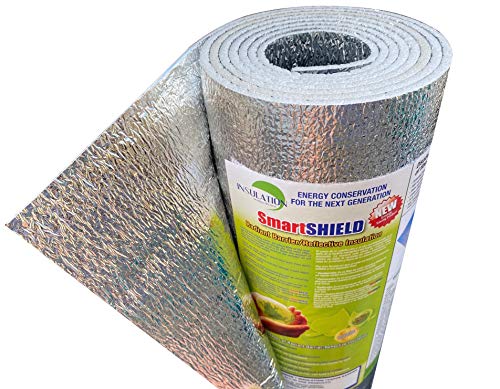
EXTREMELY EFFECTIVE - Reflect 95% of radiant energy, perfect RADIANT BARRIER!

Waterproof Material: Crafted from tear-resistant and translucent PE material, this chicken coop cover provides protection from rain, snow, and wind during winter. The translucent design allows sunlight in for warmth and visibility, while effectively insulating the coop to keep your chickens cozy and safe from the cold

Nesting Box and Roosting Bar Specifications
Designing functional nesting boxes and roosting bars requires precise measurements to guarantee your hens’ comfort and ideal egg production. For your 15-hen coop, install 4 nesting boxes measuring 12″x12″x12″ each, positioned 18-24 inches above the floor. Mount these boxes against the wall, away from the roosting area, and add a 2-inch lip at the entrance to contain bedding. Fill each box with clean hay to provide optimal nesting material for your laying hens. These boxes will accommodate your flock perfectly, following the guideline of one box per 4-6 hens for optimal laying conditions. Consider adding a sloped roof design to prevent chickens from roosting on top of the nesting boxes.
Your roosting bar installation should provide 15 linear feet of space, using 2-inch diameter rounded bars positioned higher than the nesting boxes. Space multiple bars 12 inches apart horizontally to prevent droppings from falling on birds below. Add a landing perch in front of each nesting box entrance, and install privacy curtains to create the dark, secluded environment that encourages laying.

Upgraded Materials: chicken nest pads are made of quality synthetic plastic grass and good backing material; The chicken nesting pads adopt synthetic plastic grass material, bright gray color won't fade easily, reliable and sturdy, with TPR glue backing, easy to clean, breathable and easy to dry, convenient for pet nest mat use

100% USA GROWN ASPEN NESTING LINERS: 12 Pack of our high quality 13" X 13" Aspen shavings nest liners
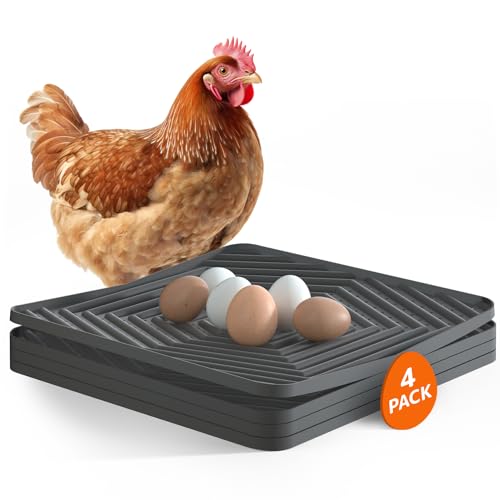
Minimize Egg Breakage: Made of soft silicone, our Pawtners chicken nesting pads provide a great softness that is preferred by chickens to lay eggs in the coop and without worrying about eggs cracking anymore
Predator-Proof Construction Techniques
Since predators pose a constant threat to your flock, implementing robust security measures requires multiple defensive layers. Start by installing 1/4″ to 1/2″ hardware cloth on all openings, extending it 12-18 inches below ground to prevent digging predators. Secure the coop with pressure-treated posts set 3 feet deep in concrete, and elevate the structure 3 feet off the ground. Use a pneumatic staple gun to efficiently attach all hardware cloth sections. These protective measures are especially critical during the chick stage when young birds are most vulnerable.
Install two-step lockable latches on all access points, avoiding simple hook or pin mechanisms that predators can manipulate. You’ll need to bury anti-dig spikes along the perimeter and create a solid roof system to prevent predator access from above. Cover runs with secure netting or roofing material, and maintain a clear zone around the coop by trimming nearby trees and brush to eliminate launching points for aerial predators. Consider installing reflective objects near the coop to deter hawks from approaching your chickens.

【Specification and Size】:Hardware cloth is 1/2 inch mesh, width: 48 inches (1.22m), length: 100 feet(30.5m), Green Vinyl PVC Coated Mesh, 19 Gauge Metal Wire,soft chicken coop fabric,mouse proof fencing,mesh screen roll
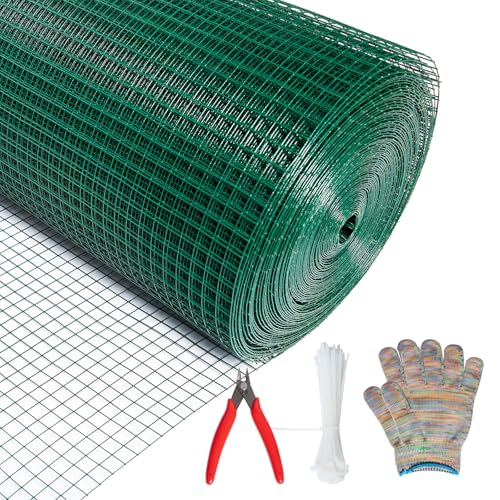
【Specification and Size】:Hardware cloth is 1/2 inch mesh, width: 36 inches (0.91m), length: 100 feet(30.5m), Green Vinyl PVC Coated Mesh, 19 Gauge Metal Wire,soft chicken coop fabric,mouse proof fencing,mesh screen roll
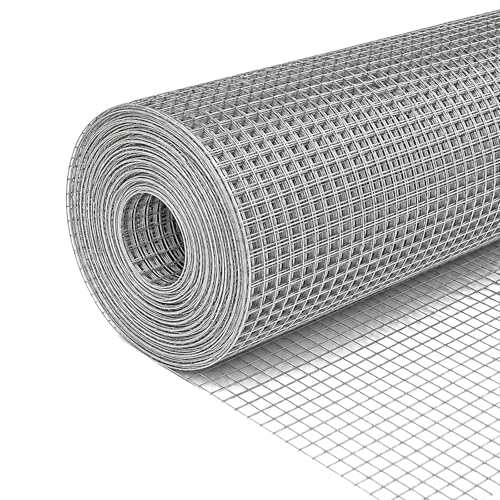
Hardware Cloth 1/2inch for Chicken Coop – 16 inch x 50 ft welded wire mesh made from 23-gauge galvanized steel hardware cloth. Provides reliable strength and flexibility for chicken wire fencing, garden protection, and general outdoor use
Cleaning and Maintenance Features
A well-designed cleaning system will greatly reduce your maintenance workload while keeping your 15 hens healthy. Install 4’x6′ droppings boards beneath roosts and position removable collection trays underneath for efficient waste management. Choose smooth, non-porous materials like sealed plywood or vinyl flooring for walls and floors to prevent bacteria buildup. Using sand as litter will help maintain lower bacterial counts and reduce overall maintenance requirements. Add a dedicated area for grit storage to ensure proper digestion and prevent health issues.
Your maintenance schedule should include daily droppings removal, weekly bedding refreshment in high-traffic areas, and monthly deep cleaning. Keep cleaning supplies organized in a dedicated 2’x2′ storage area: sturdy scrub brushes, shovel, 1:1 vinegar-water solution, and protective gear. Install four 12″x12″ windows with adjustable vents to guarantee proper airflow during and after cleaning sessions. Design the coop with 6′ ceiling height and 32″ doors for comfortable access during maintenance tasks.

Heavy Duty Stainless Steel: The thick metal blade effectively tackles stubborn dried messes making this bird poop cleaner a reliable choice for daily pigeon coop maintenance

[PERFORATED SURFACE PROMOTES CLEANLINESS] Featuring small holes across the tray, debris such as feathers and droppings fall through naturally, preventing buildup and keeping the nesting area cleaner. This enhances airflow inside the coop, creating a healthier, more hygienic environment for your hens.
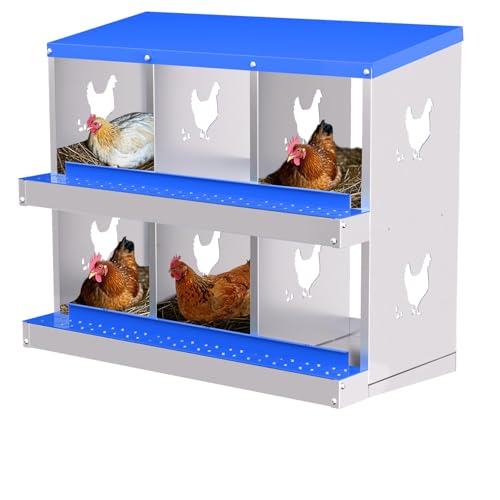
Efficient & Clean Egg Collection:The sloped design guides eggs smoothly into the removable collection tray, reducing breakage and keeping eggs clean. This also helps maintain nest hygiene and saves daily collection time. Pro tip: Add a soft mat under the lid for extra egg protection.
Electrical and Lighting Solutions
Proper electrical planning sets the foundation for a safe, functional chicken coop. You’ll need a dedicated 20-amp circuit to power essential equipment, including heated waterers and lighting systems. Regular dusting of bulbs helps prevent potential fire hazards and maintains optimal lighting performance. Install GFCI-protected outlets and run all wiring through conduit to prevent damage from chickens and rodents. Consider using 100-watt submersible heaters that fit vertically in waterers to prevent freezing during winter months.
For peak egg production, provide 14 hours of light daily using one 25-watt LED bulb per 40 square feet. Mount automatic timers to maintain consistent lighting schedules year-round. If your coop location permits, consider solar alternatives to reduce grid dependency. Solar panels can effectively power water heaters, lights, and automatic feeders to further streamline your coop management. Solar panels can effectively power water heaters, lights, and automatic doors.
Never use extension cords for permanent installations. Instead, install underground wiring below the frost line or use properly protected overhead lines. This guarantees electrical safety while enhancing your coop’s functionality in all seasons.
Run Design and Outdoor Space Planning
When designing your chicken run, you’ll need to allocate 150 square feet of secure outdoor space for 15 hens – following the standard requirement of 10 square feet per bird. Consider a 10×15-foot run configuration attached directly to your coop, using heavy-duty mesh walls extending at least 6 feet high to prevent escape. Experienced builders recommend incorporating double doors for convenient access during daily maintenance tasks.
Install a slanted roof over portions of the run for weather protection, and implement proper drainage with a 2% grade slope. Position the run to provide cold wind protection from harsh northwest winds during winter months. Proper ventilation design is crucial for preventing disease spread in your flock. For outdoor enrichment, divide your run into multiple sections for space rotation, allowing vegetation to recover in unused areas. Incorporate durable fencing buried 12 inches deep to deter digging predators, and add deterrents like crushed oyster shells around the perimeter. Position feeders and waterers strategically throughout the run to encourage natural foraging behaviors.