You’re probably wondering if your one‑month‑old chick looks normal, eats right, and needs a new setup. By now wing feathers should be solid pin feathers with straight shafts, while the head and neck still show soft down; uneven lengths are fine, but no bald patches or broken shafts. Feed a 20‑22% protein starter‑grower crumble at about a pound per chick weekly, keep water fresh with a splash of vinegar, and add grit once they’re nibbling beyond the feed. Lower the brooder to roughly 80‑85°F, give them a cool corner, and watch for active peeping, huddling for warmth, and short bursts of foraging—these are all healthy signs. If droppings stay normal, legs are sturdy, and they’re drinking confidently, you’re ready to start thinking about an outdoor move.
Check Your Chick’s Feather Development at One Month
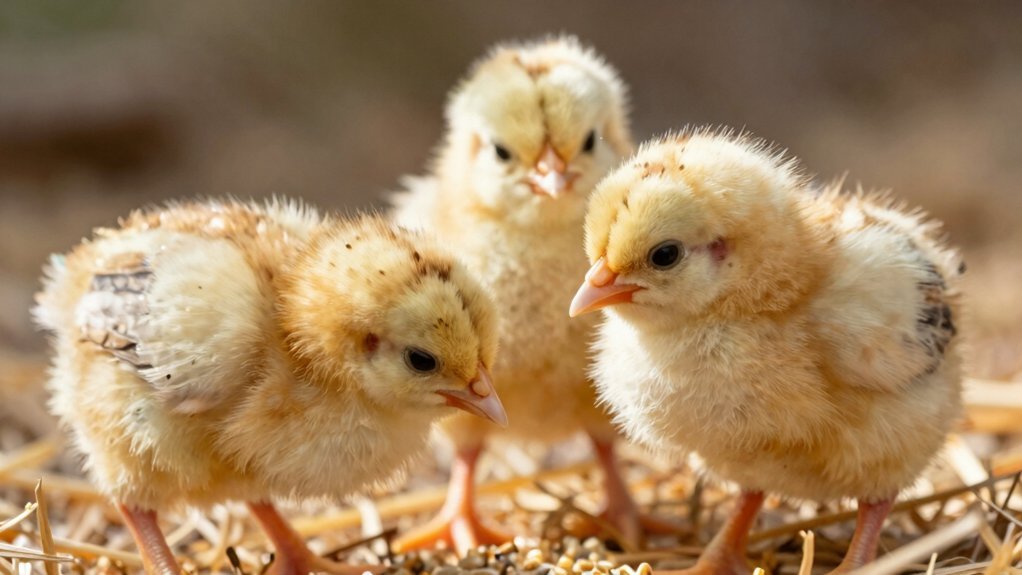
What should a one‑month‑old chick look like? You’re probably wondering if the mix of down and fled feathers is normal. Here’s the thing: by four weeks wing feathers should be the most advanced, with pin feathers visible and structured coverts, while the head and neck keep soft down.
What does feather quality tell you? Check shafts for straightness, avoid broken or bent pieces, and make sure keratin sheaths still cover pin feathers. Ragged or brittle feathers, or large bald patches, signal a problem.
Which developmental signs matter? Look for increasing body coverage, orderly rows of new feathers, and uneven lengths that are still common. If most of the chick remains downy, consider nutrition or stress. While young birds experience juvenile molts, the annual molting process typically occurs later in life when feathers are shed from the head down. Although your chicks are not yet fully feathered, they are approaching the stage where mature feathers will replace their downy fluff to help regulate body temperature. It is important to distinguish this early growth from the natural molting triggered by shorter daylight hours that affects older birds.
Takeaway: Healthy feather growth shows strong feather quality and clear developmental signs. Next, verify your brooder temperature and space are ideal.
The chicks are now big enough to fly out of the sides of the brooder.
Lower Brooder Temperature and Expand Space Safely
Now, expand the space safely. Add a low‑profile divider to create a cool zone, letting birds retreat when they get warm. Make sure the divider doesn’t create drafts—seal gaps and keep the room’s airflow steady for draft prevention.
All right, watch their behavior. If they spread out, you’ve hit the sweet spot. If they huddle under the lamp, raise it a bit more. The takeaway: tweak heat in tiny steps, give a cool corner, and monitor for drafts. Next, check their feed to the the growth curve. Since chicks at this age still need protection from sudden temperature drops, avoid using fire-prone heat lamps and opt for safer, purpose-built heating solutions. Remember that while traditional red bulbs are common, many experts now recommend radiant heat plates to eliminate fire hazards and provide safer warmth. Always maintain at least 12 to 24 inches between any heat source and combustible bedding to prevent fires.
Feed the Proper Starter‑Grower Mix for One‑Month Chicks
Feeding your one‑month‑old chicks the right starter‑grower mix clears up a lot of confusion. You’re probably wondering if you should keep pure starter or switch to a starter‑grower blend. The answer lies in protein percentages and medication options on the bag.
What protein level should I aim for?
At one month you still need high protein—18 % is the minimum, but 20 %‑22 % works great for rapid growth. Crumble‑type feed lets tiny beaks pick it up easily, and a pound per chick each week keeps them satisfied.
Do I need medicated feed?
Check the label for medication options. Non‑medicated starter works fine if your brooder is clean, but medicated formulas can protect against early coccidiosis.
Should I mix feeds now?
If you choose a starter‑grower product, you can stay with it through 6‑8 weeks, avoiding a sudden switch. Just keep the feed available all day and watch intake.
Takeaway: Stick with a high‑protein (18‑22 %) crumble feed, decide on medication based on health needs, and you’ll see steady growth. Next, guarantee clean water and grit are always within reach. Broken maize is a primary ingredient in many starter mixes. Providing supplemental grit aids proper digestion by helping grind food in the gizzard. Quality feeds often include grains like wheat alongside corn and barley to support balanced muscle and bone development. Ensuring consistent access to fresh water is a fundamental part of a healthy feeding regimen that supports overall chick health.
Provide Clean Water, Grit, and Safe Supplements
Why does clean water matter so much? You’re worried about disease and dehydration, and you’re right. Fresh water reduces bacterial buildup, so you should clean waterers daily with warm water and a splash of vinegar. Keep the level between the chick’s eye and back, and elevate the container to stop litter from spilling in. Since water is more urgent than feed for preventing dehydration and supporting metabolism, ensuring constant access to fresh water is vital for your flock’s sustained health. For a scalable solution, you can construct a system using a 5-gallon bucket that utilizes a vacuum seal to prevent overflowing while maintaining a steady supply. For larger flocks or long-term setups, consider upgrading to an automatic watering system that uses gravity-fed barrels or mains pressure to ensure continuous hydration without manual refilling.
Now, about grit and supplements. You’ll add grit only after chicks start nibbling anything beyond starter feed—usually around two weeks, so grit introduction timing aligns with their expanding diet. A pinch of apple cider vinegar (about two tablespoons per gallon) or a dash of honey can aid digestion, but don’t overload the water; strong flavors can deter drinking.
Raw honey from a local beekeeper provides beneficial enzymes. All right, the takeaway: prioritize water sanitation practices, give easy‑to‑drink water, and introduce grit and safe supplements at the right stage. Next, watch how your chicks behave as they settle into the brooder.
Identify Normal Behaviors and Early Social Signs
You’re probably wondering which chick antics are just normal curiosity and which hint at a problem. You’ll notice peeping patterns that shift from soft, constant chirps to occasional louder calls when they’re hungry or excited. Those bursts are normal; they’re just their way of staying in touch with the group.
Here’s the thing: at one month, chicks love social clustering. During rest they huddle for warmth, and when you’re nearby they’ll gravitate toward your hand or voice, showing trust. You’ll see them follow a leader around the brooder, pecking at food together and scratching the bedding in coordinated bursts. As they transition into juveniles during these weeks, they begin developing gender differences alongside their primary feathers.
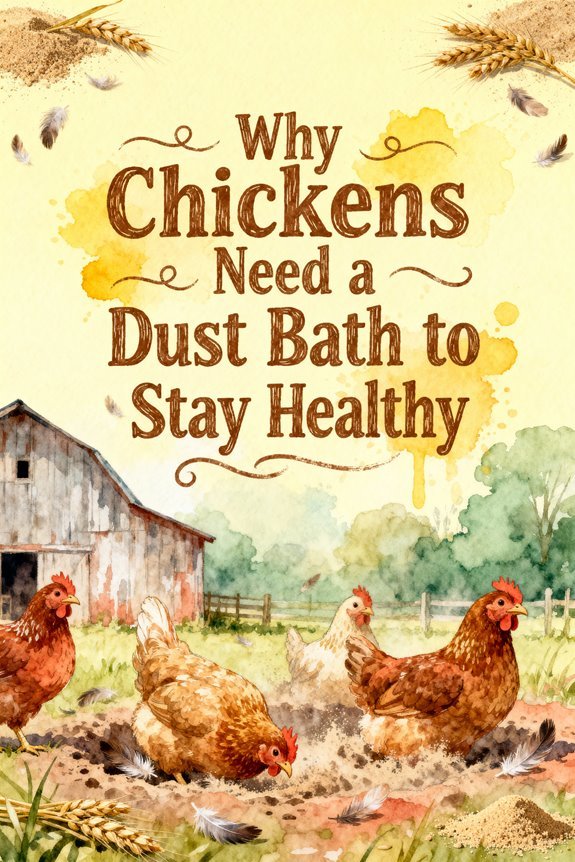
Obviously, uneven bursts of activity and short naps are typical. If a chick isolates itself for long periods, it may be shy, not sick. Takeaway: watch for lively peeping, tight clustering, and shared foraging—these signal a happy, well‑adjusted flock. Next, ask yourself how you’ll spot early health issues before moving outdoors. Dust bathing is a natural instinct that begins early and helps keep feathers clean. As they develop this behavior, you can eventually introduce diatomaceous earth to their dust baths to safely help control external parasites like mites and lice. While DE is effective against external pests, studies suggest its trace minerals can also improve feed efficiency when used as a dietary supplement.
Spot Health Problems and Plan the Outdoor Move
How do I know when a chick is sick enough to delay the outdoor move? You’ll spot lethargy, dry tacky skin, or a wilting posture. Those signs mean dehydration, so give clean water and electrolytes right away. If the chick can’t stand, its muscle coordination is off—spraddle leg or weak legs need immediate support before you let it roam.
What health flags demand a pause? Bloody droppings, coughing, or wheezing signal coccidiosis, respiratory infection, or severe parasite load. Keep bedding dry, reduce crowding, and consider medicated starter feed for parasite control.
When should you move them outside? Only after they’re drinking, walking confidently, and showing no red‑flag symptoms. Otherwise, keep them in the brooder and treat the issue first.
Takeaway: monitor hydration, droppings, and leg stability; delay the move until all three are normal. Next step? Check each chick’s water intake and leg posture before opening the door. Remember that chicks purchased as day-old chicks are especially fragile and require consistent warmth to regulate their body temperature before facing outdoor conditions. To ensure they reach this stage safely, you must maintain a heat source in the brooder that keeps temperatures between 90-95°F initially, gradually reducing it weekly as the chicks grow. Regularly interacting with your flock during this period helps build trust and allows for closer observation of their development into healthy chickens.